

How to make a hard mould for a tire!
A hard mould is the best way to ensure your tire will cure/dry quickly, without developing any weird bubbles/ folds, getting stuck to the surface, or pulling some kind of weird chemical reaction, and it’s easier to handle- because you’ll need to use rotation-casting for this sort of thing.
But you can’t completely encapsulate your prototype in something hard directly without getting the prototype stuck inside. You’ll need a flexible prototype for that- but rubber isn’t suitable for precise sculpting. So! There’s some steps in between.
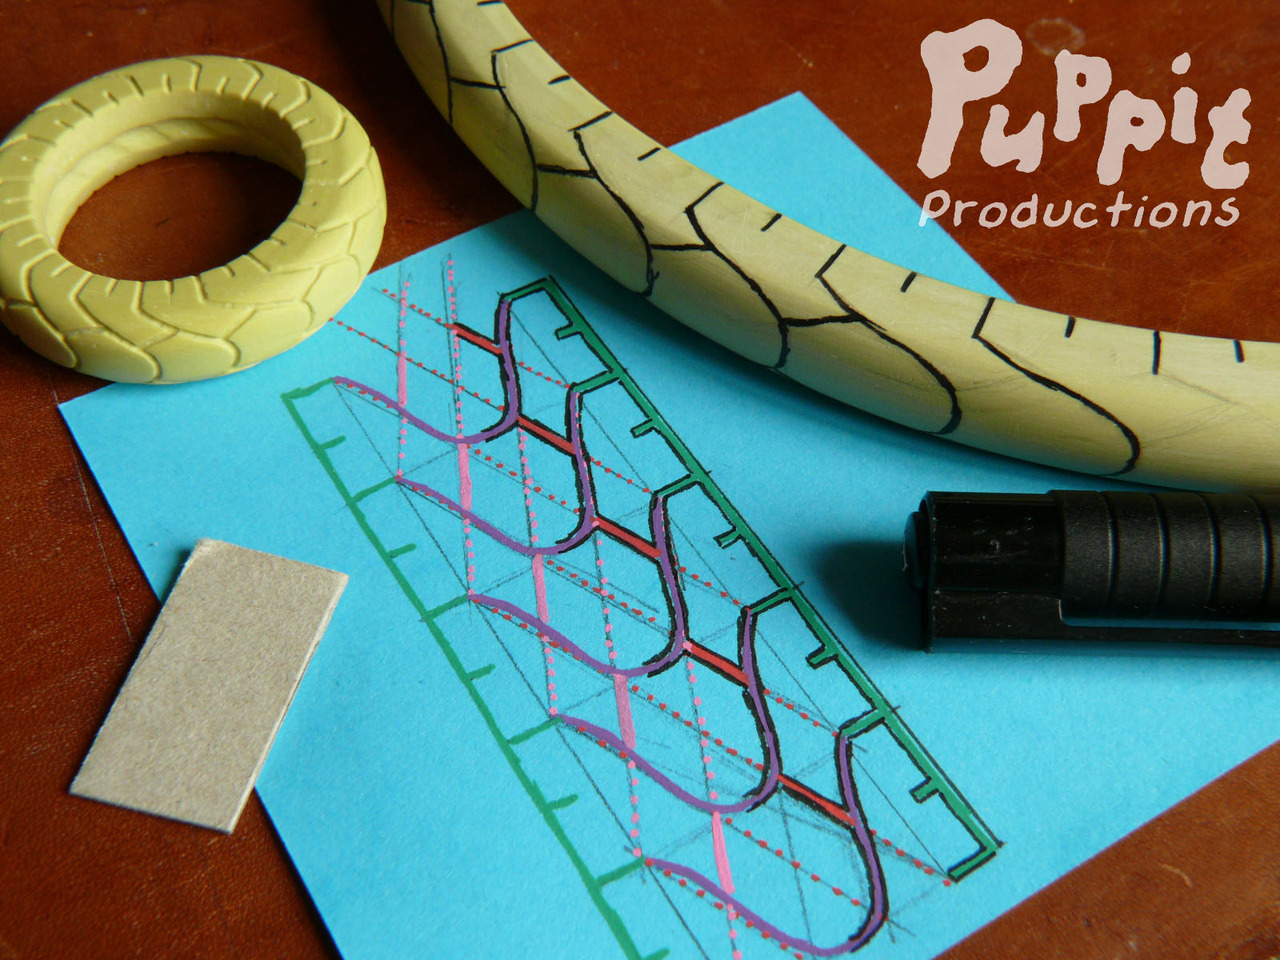
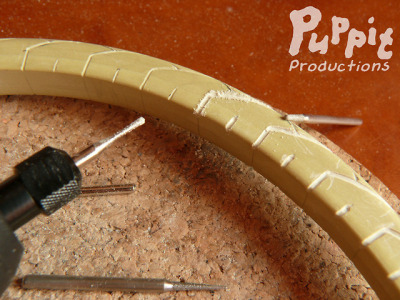
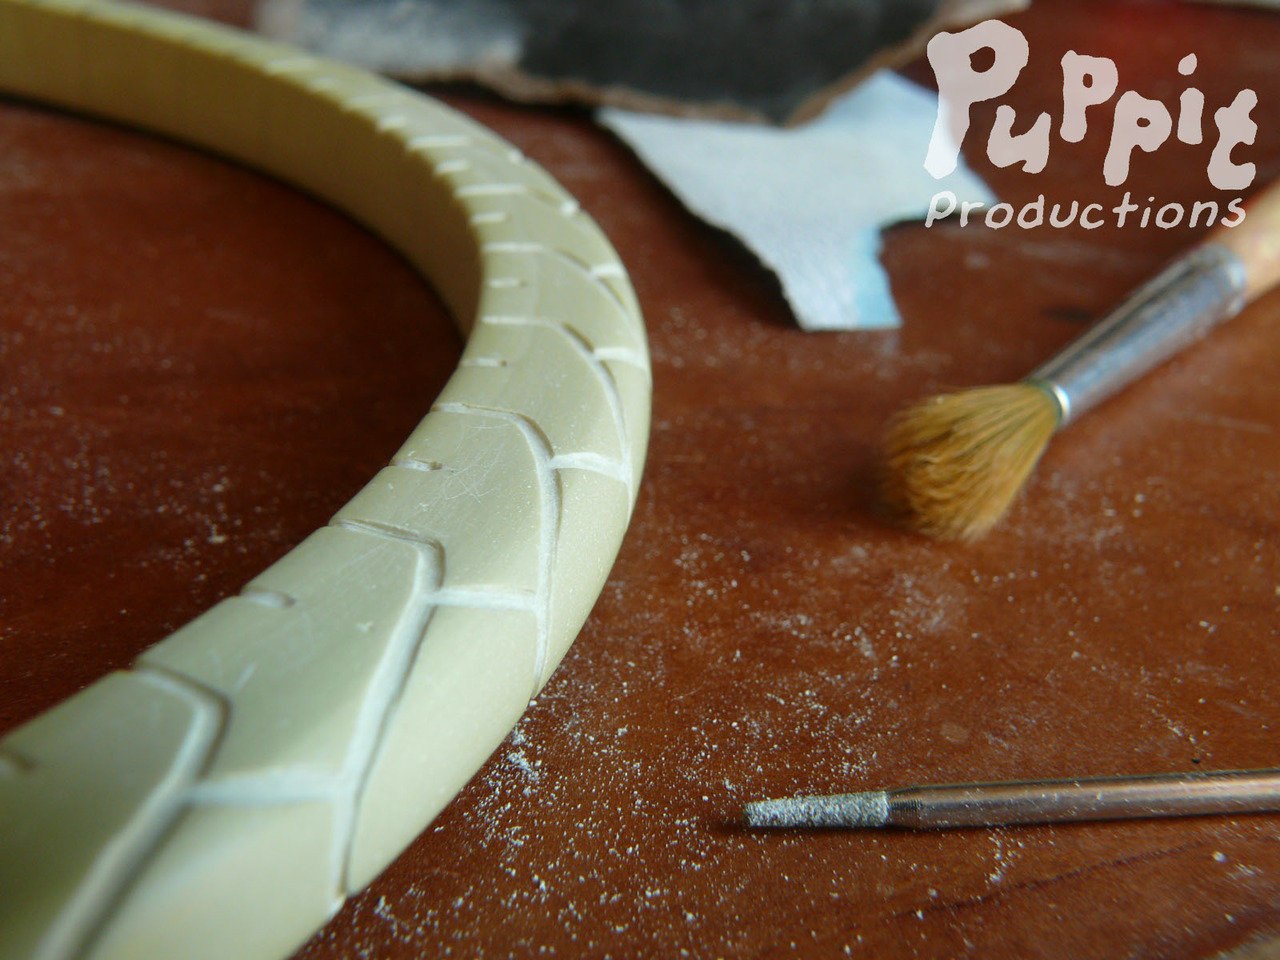
First, create a prototype tire: A loop of the right size & shape (I’ve left out the whole “crap this stuff stretches how am I supposed to get the size right” try-and-re-try horribleness, sorry). Create a pattern, carve it out.
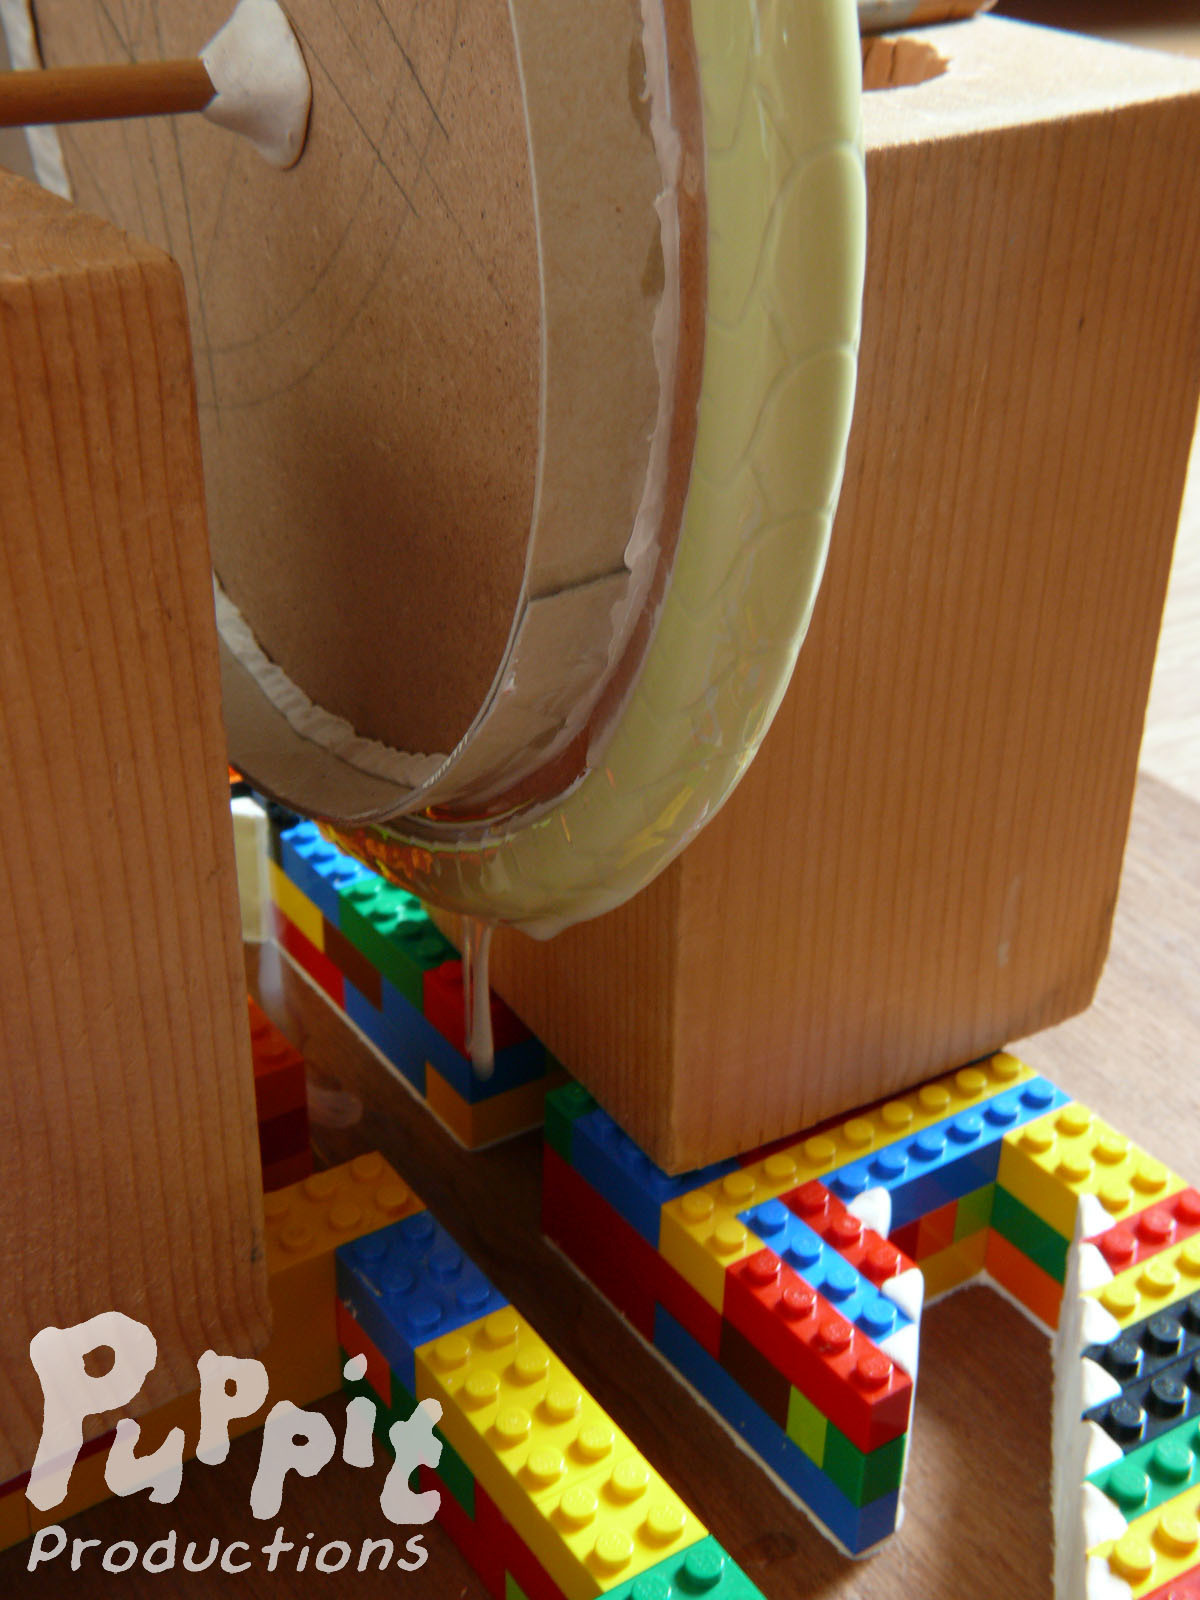
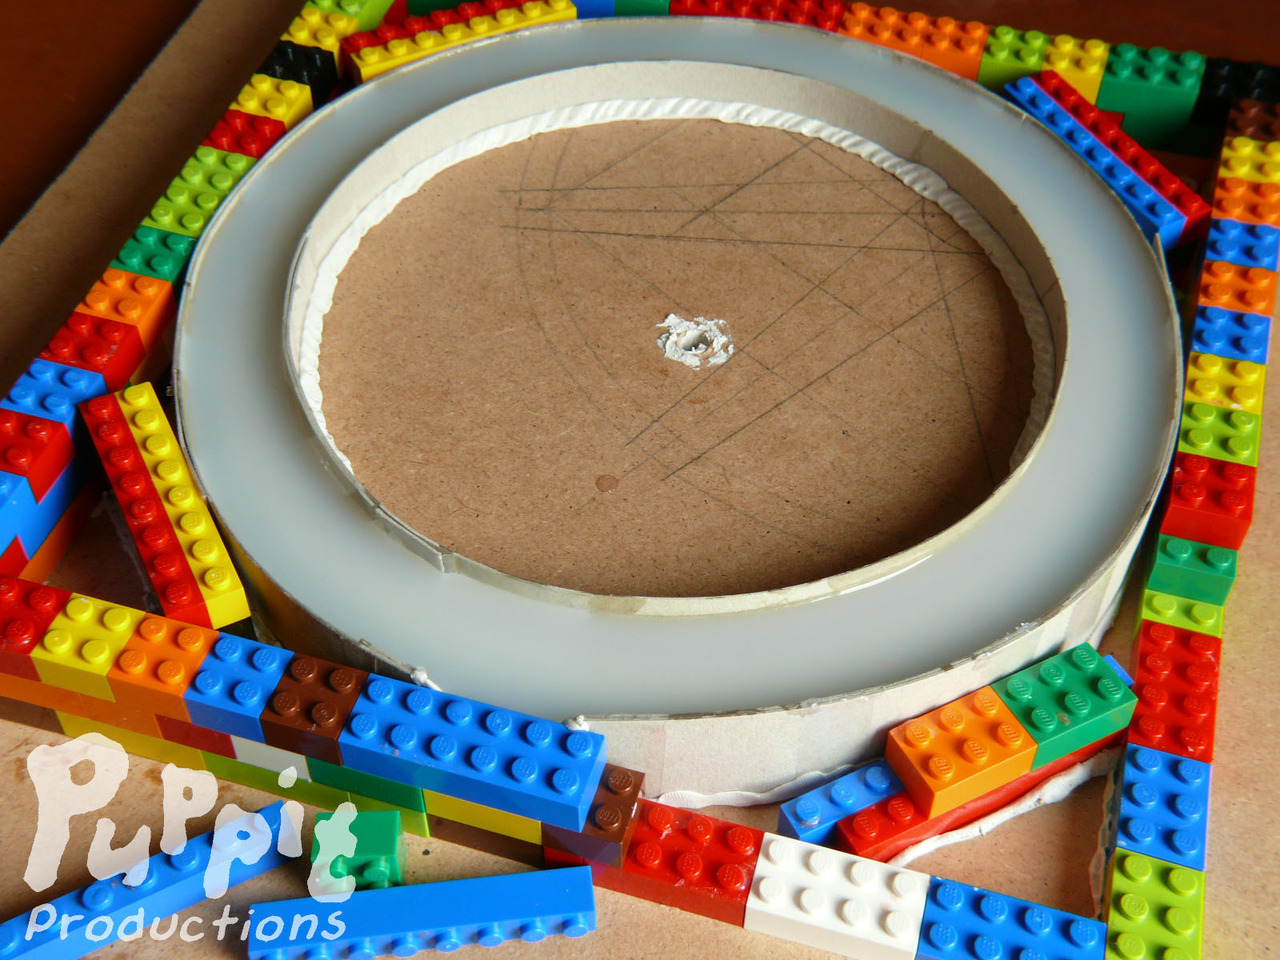
Then, create a flexible mould (Mould 1) of your prototype. Embed prototype in a way that will allow you to easily rotate it (I like to use cardboard & poster tack for nearly all moulds - I also used a wooden wheel in the centre this time). Apply several layers of silicone all around, allowing them to cure in between. Avoid touching them! Once there’s a nice thick shell all around, embed it in a casting shape, and fill with more silicone. Once cured, remove the casting shape and the prototype.
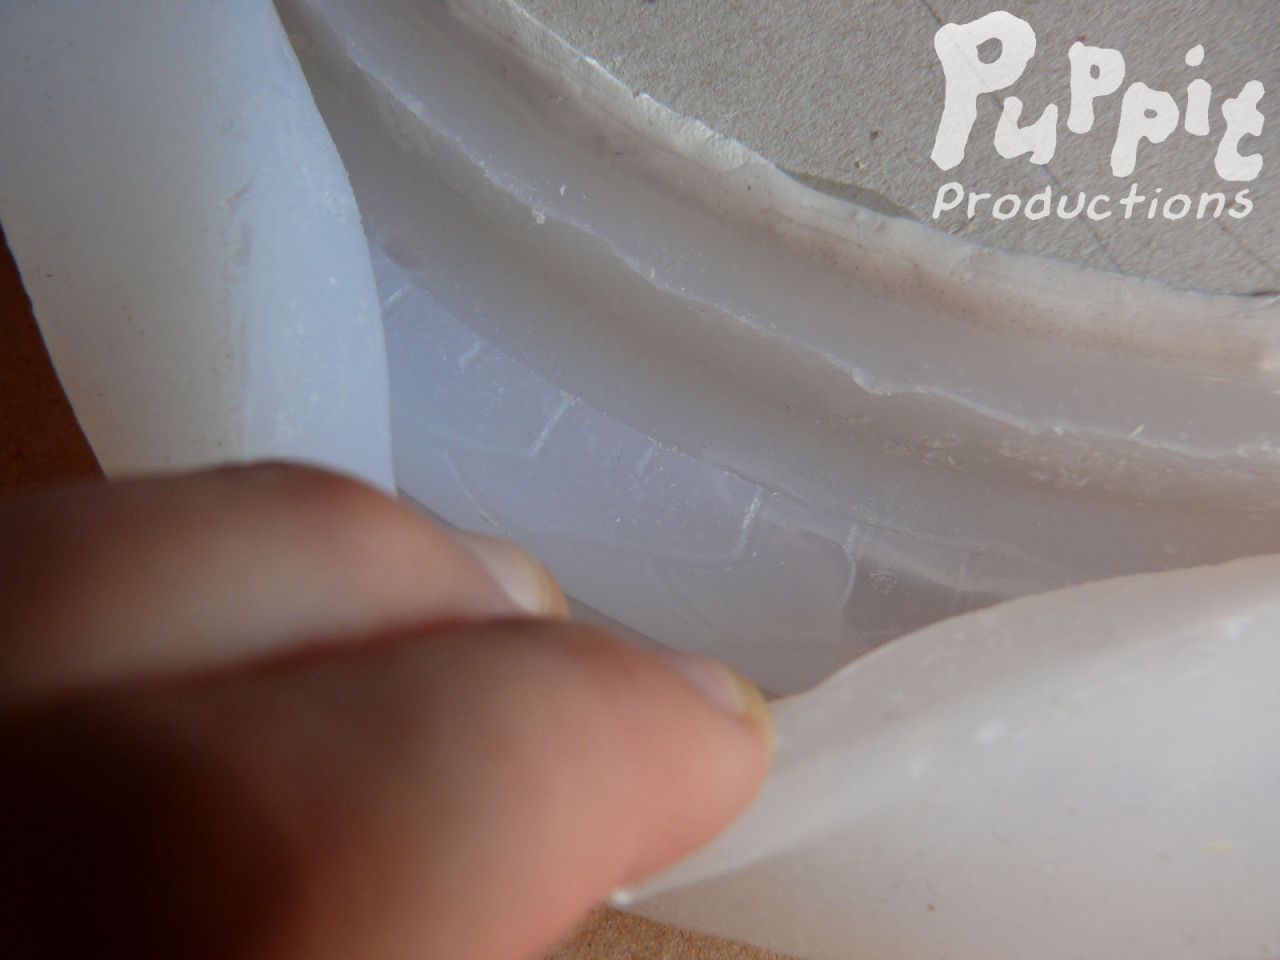
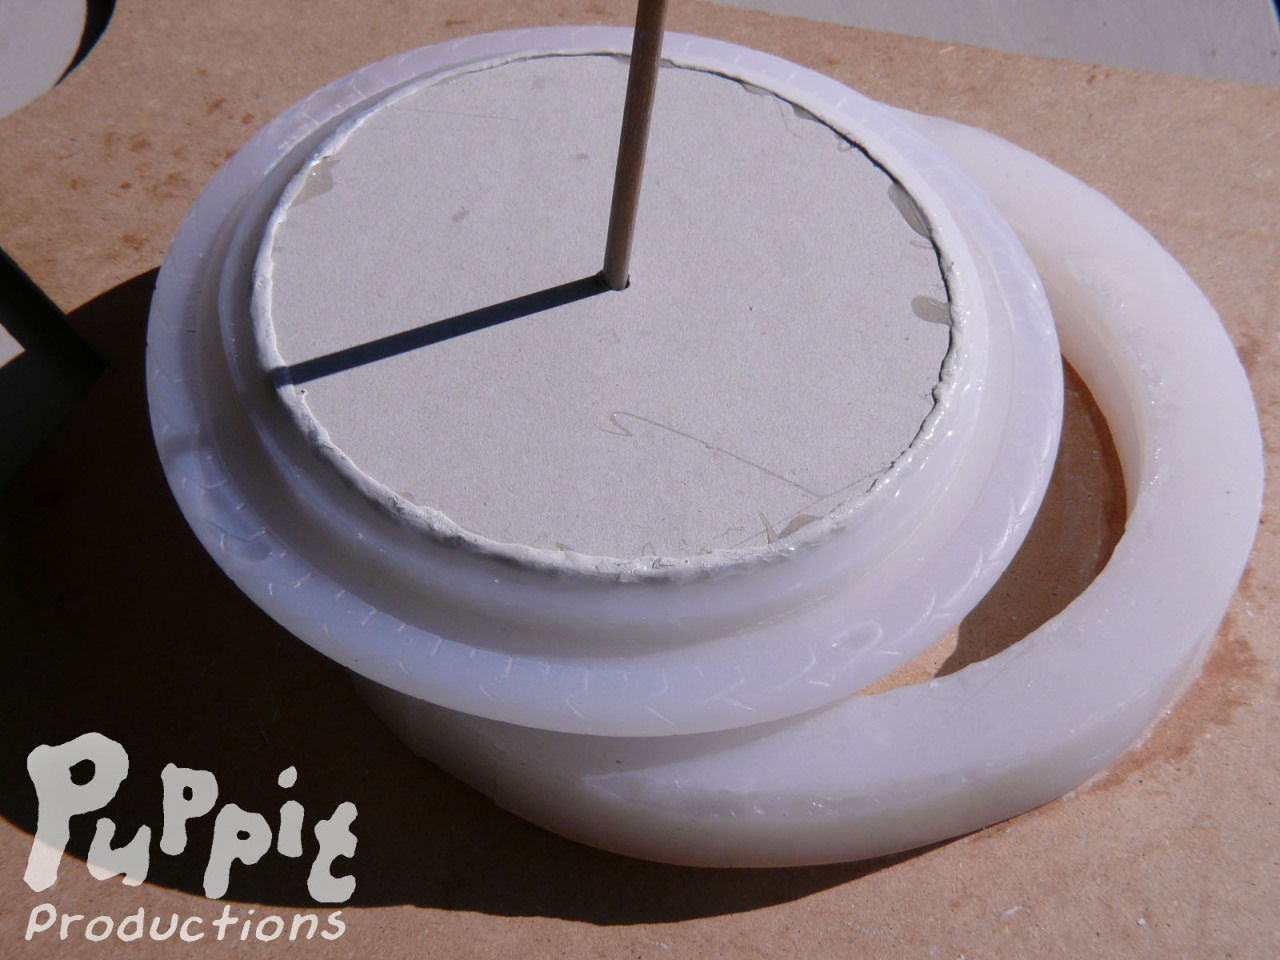
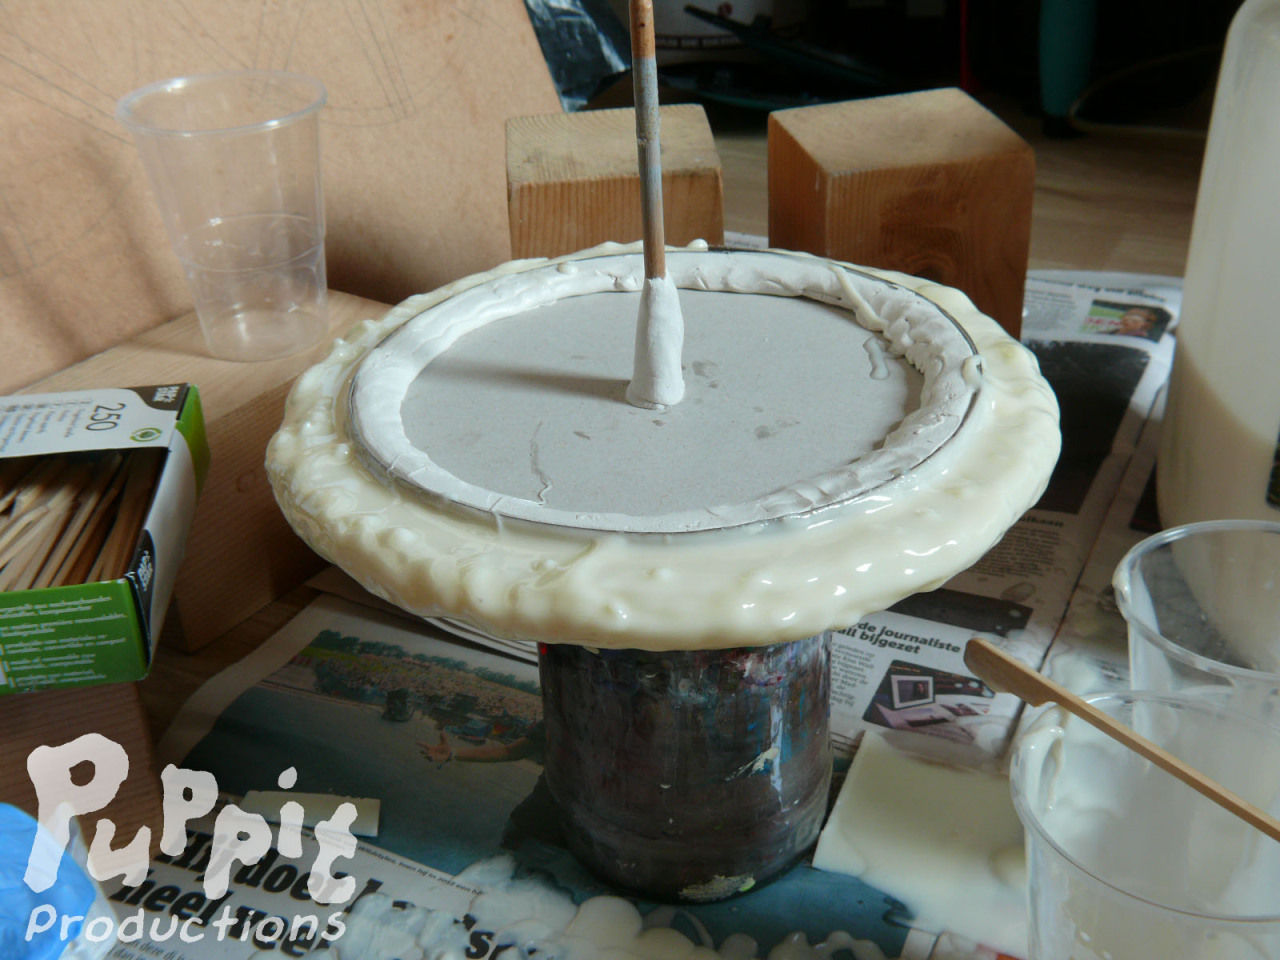
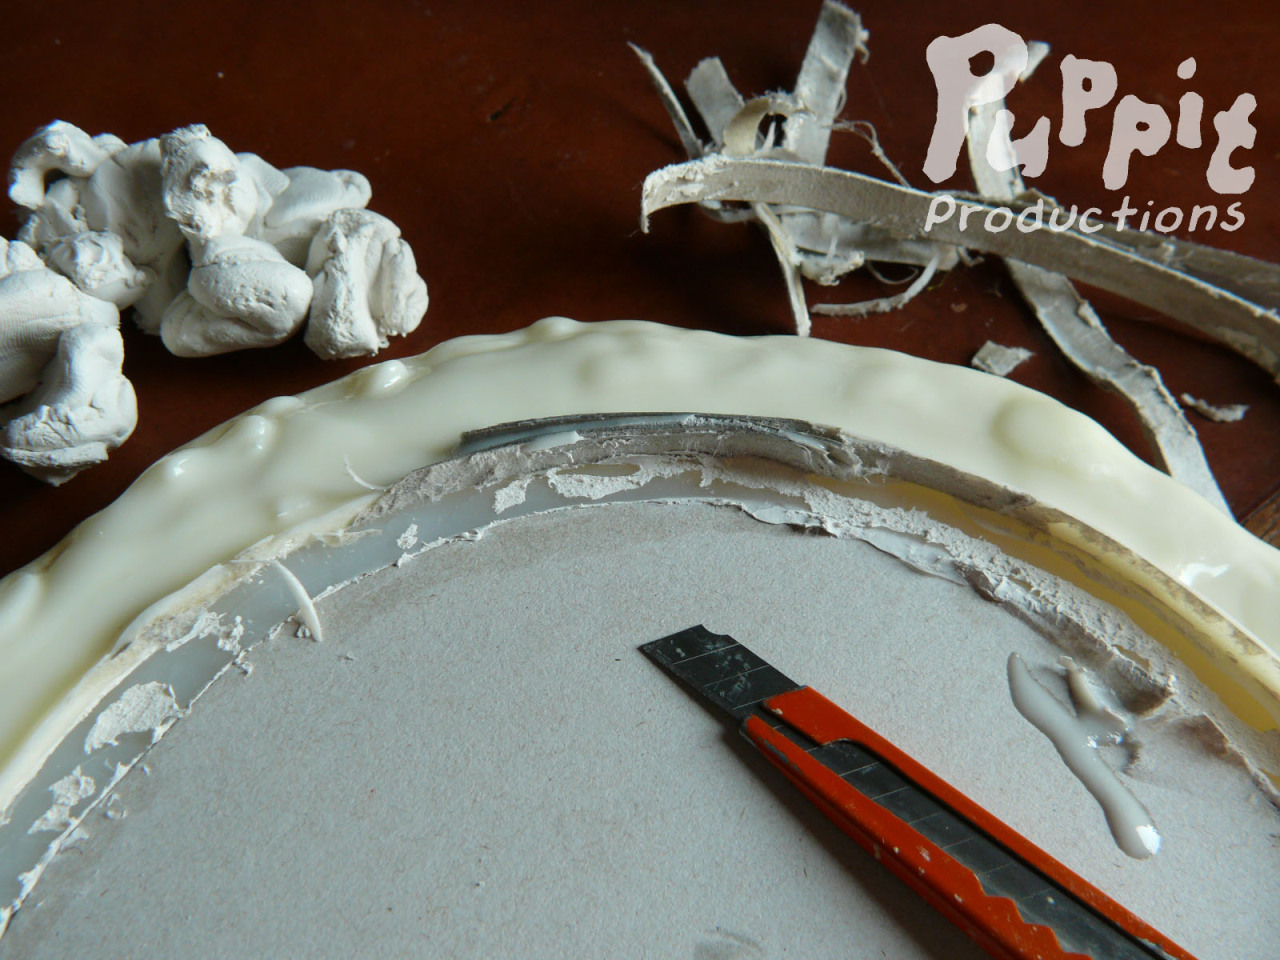
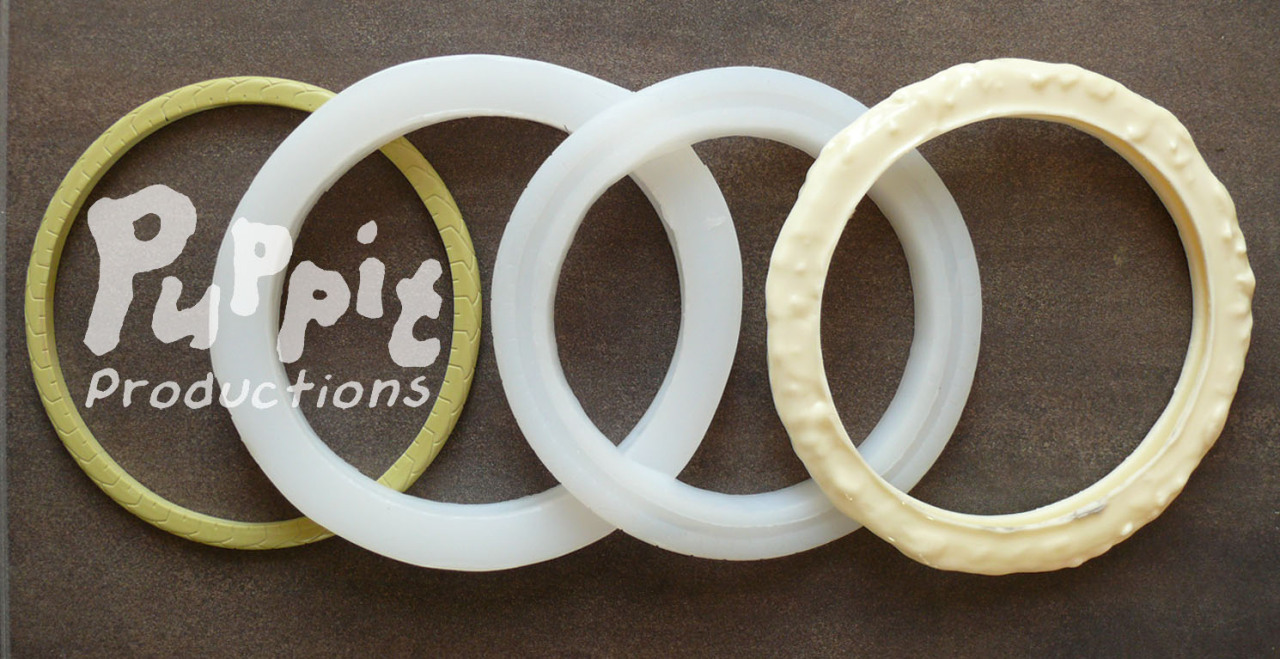
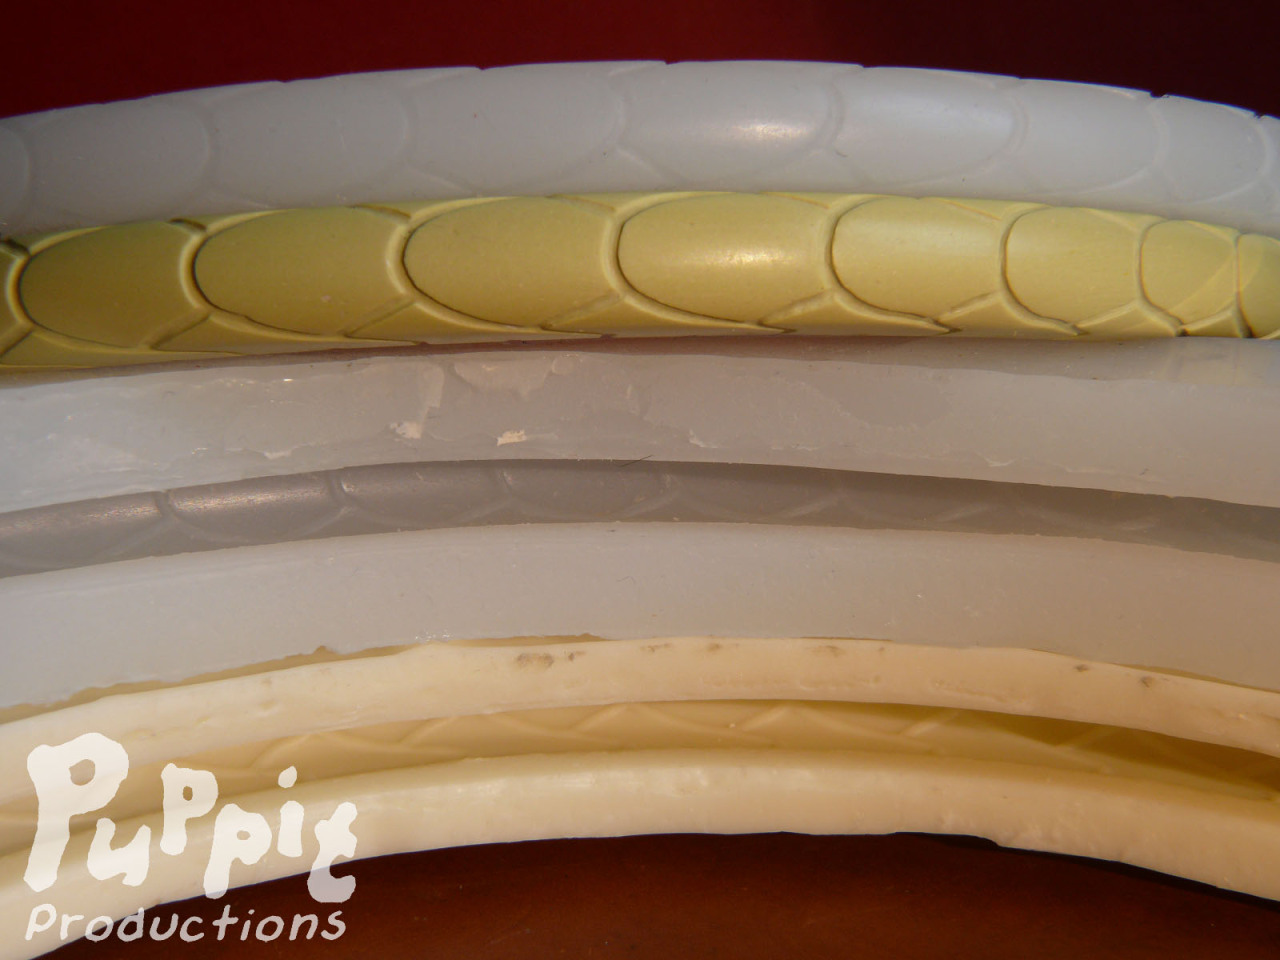
Next step: Mould 2, the silicone replica of your prototype: Brush the inside of Mould 1 thoroughly with release agent (Vaseline) to prevent moulds from merging. Re-embed Mould 1 on rotatable board/plate. Install casting shape in the middle to save on silicone. Lay ring of proper size on top op mould to be able hold the mould upside down, with pressure applied evenly. Pour several layers of silicone inside, rotating and turning, allowing each layer to cure. Then fill up the rest. When cured completely, gently peel the moulds apart. Keep Mould 2 on the casting shape. (As you can see, some bubbles formed regardless, but because the first few layers created a thick enough “skin”, it holds its shape well enough for the next step)
Lastly, Mould 3, the hard mould: Drizzle & smear several layers of resin onto Mould 2, rotating. Make sure the first layer is thin: too much weight will cause any bubbles to collapse and break the shape. Cause huge mess. Once it has a tough shell, you can wait for the resin to start curing a bit before smearing it on, to prevent an excess of dripping. When cured, remove casting shape & silicone replica (Mould 2) from inside, and carve away any protruding bits of resin. NOTE: You might also be able to use clay for this, depending on how big your mould is and how intricate the pattern. For a very small tire, polymer clay might be a good, mess-less substitute, as silicone can withstand the required oven heat just fine. Be aware that bubbles might swell a bit due to the warmth, though, and that applying pressure to the clay all around simultaneously can be very tricky to do.
Mould 3 can now be used to cast any silicone or latex tires in, without risk of sticking together or causing weird chemical reactions. You might want to glue one side to a wheel of sorts, or simply hold it between two plates so you can easily rotate it with latex or silicone inside. (Be careful not to prematurely tear away those plates though- It’s likely your tire will need several layers, and if any rubber got stuck to the plates, you risk pulling it out of the mould before it’s done, causing weird deformations.)
Bjd Wheelchair BJD Tire Design Tire Mould Mold Making